
How To Patch Screw Holes In A Metal Roof? - Roof Repair Services
Car Repairing
How To Patch Screw Holes In A Metal Roof?
Metal roofs are known for their durability and long-lasting performance, but they are not immune to damage. Screw holes in metal roofs can lead to leaks and further structural issues on steel roofs if not addressed promptly. Knowing how to patch screw holes in a metal roof is crucial for maintaining the roof’s integrity and preventing costly repairs.
Tools and Materials Needed
To effectively patch screw holes in a metal and roofing screw in, you will need the following tools and materials:
- Tools:
- Metal snips
- Drill
- Caulking gun
- Putty knife
- Wire brush
- Safety glasses
- Gloves
- Materials:
- Sheet metal patch
- Roofing screws
- Color-matched urethane sealant
- Roofing cement
- Cleaner (e.g., Simple Green)
- Emery cloth or sandpaper
Safety Precautions
Before beginning any roof repair, it is essential to conduct a safety review of repair area. Here are some tips to ensure your safety while working on a metal roof:
- Safety Gear: Always wear safety glasses, gloves, and non-slip shoes. Using a safety harness is also advisable when working on a steep roof.
- Weather Conditions: Avoid working on the roof during harsh weather conditions to prevent accidents.
- Stable Ladder: Ensure your ladder is stable and positioned correctly. Secure it to the roof for added stability.
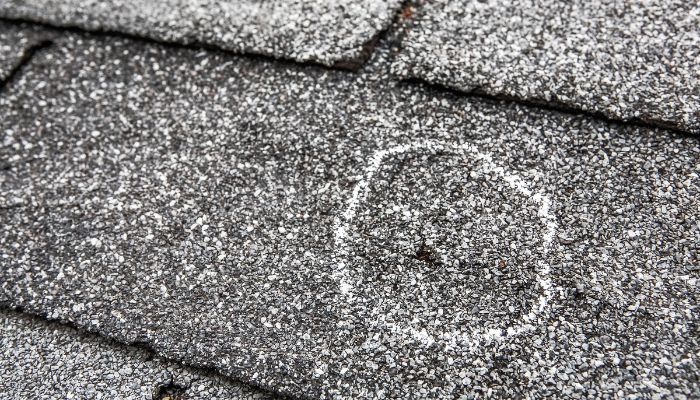
Preparing the Area
Proper preparation is key to a successful repair process. Follow these steps to prepare the area around the screw hole:
- Clean the Area: Use a cleaner like Simple Green to remove any dirt, algae growth, or debris from the area surrounding the screw hole. This ensures a clean surface for the patching material to adhere to.
- Remove Rust: If there is any rust around the screw hole, use a wire brush or emery cloth to remove it. This step is crucial for ensuring the sealant bonds properly.
- Dry the Area: After cleaning, use a wet cloth to wipe the area and let it dry completely. A dry surface is essential for the sealant to cure properly.
Measuring and Cutting the Patch
Once the area is prepared, the next step is to measure and cut the sheet metal patch:
- Measure the Hole: Measure the size of the screw hole and the surrounding damaged area. The patch should be large enough to cover the hole and extend at least an inch beyond it on all sides.
- Cut the Patch: Use metal snips to cut the sheet metal patch to the appropriate size. Ensure there are no sharp corners that could catch on the roofing material.
Applying the Patch
Applying the patch correctly is essential for a watertight seal. Follow these steps to ensure the patch is properly installed and properly:
- Position the Patch: Place the metal patch over the screw hole, ensuring it covers the damaged area completely.
- Secure the Patch: Use roofing screws with rubber washers to secure the patch in place. The rubber washers help create a watertight seal. Avoid over-tightening the screws, as this can damage the patch and surrounding metal.
Sealing the Patch
To ensure a long-lasting repair, it’s crucial to the sealant bond to the patch properly:
Additional Sealant: If necessary, apply more sealant over the screws to enhance weather resistance and prevent future leaks.
Apply Sealant: Use a caulking gun to apply a generous bead of color-matched urethane sealant around the edges of the patch. Ensure the sealant forms a continuous bead without gaps.
Smooth the Sealant: Use a putty knife to smooth the sealant, pressing it into any gaps between the patch and the roofing material. Apply uniform pressure to ensure the sealant bonds well with the surrounding metal.
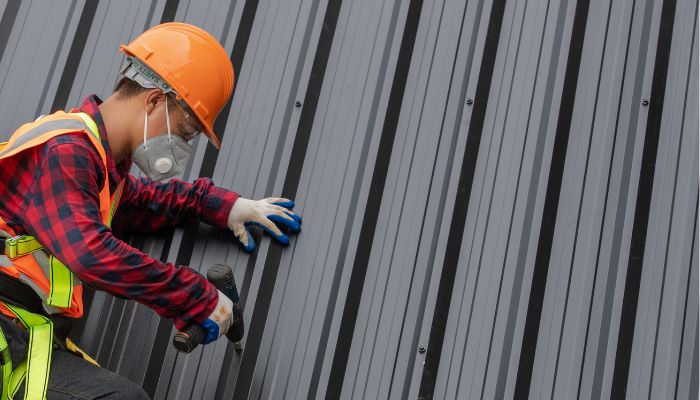
Securing the Patch with Roofing Screws
Properly securing metal roof clean the patch with roofing screws ensures it stays in place and maintains a watertight seal:
- Drill Holes: Drill holes through the patch and roofing material, ensuring they are evenly spaced around the patch.
- Insert Screws: Insert roofing screws with rubber washers into the drilled holes. Tighten the screws until the washers are compressed, but avoid over-tightening to prevent damage.
Applying Roofing Cement
For added protection, apply roofing cement over the patched area:
- Spread Cement: Use a putty knife to spread a thin layer of roofing cement over the patch and surrounding area. Ensure it covers the screws and sealant.
- Smooth the Surface: Smooth the roofing cement to create a uniform layer that blends with the roof’s surface. This step helps prevent water from pooling and enhances the patch’s durability.
Inspecting and Maintaining the Patch
Regular maintenance and inspection of the patched area are essential for long-term metal roofing repairs and health:
- Inspect Regularly: Check the patched area periodically, especially after severe weather events, to ensure it remains intact and watertight.
- Reapply Sealant: If you notice any cracks or gaps in the sealant, reapply it as needed to maintain a strong bond and prevent leaks.
- Clean the Roof: Keep the roof clean and free of debris to prevent additional damage and ensure proper water flow.
Measuring and Cutting the Patch
Once the full metal panel and area is prepared, the next step is to measure and cut the sheet metal patch. This ensures the patch fits perfectly and provides a secure seal over the screw hole:
- Measure the Hole: Use a tape measure to determine the size of the screw hole and the surrounding damaged area. The patch should be large enough to cover the hole and extend at least an inch beyond it on all sides.
- Cut the Patch: With metal snips, cut the sheet metal patch to the appropriate size. Ensure there are no sharp corners that could catch on the roofing material and create additional damage.

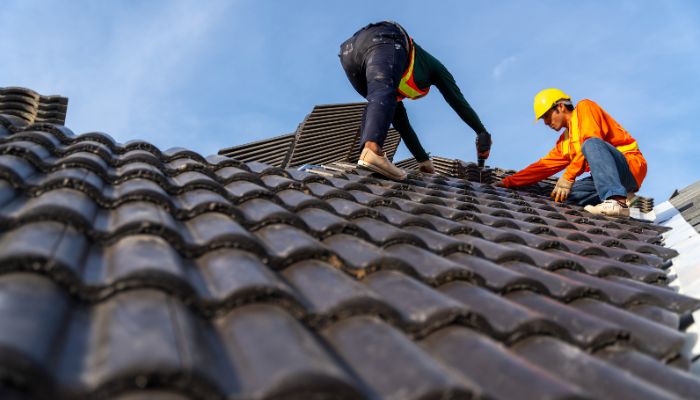
Importance of Professional Assistance
While DIY repairs experienced roofers can be cost-effective and straightforward, some situations may require the expertise of a professional roofing contractor:
- Extensive Damage: If the damage is extensive or covers a large area, it may be best to consult with an experienced roofer. They can assess the situation and recommend the best course of action.
- Complex Repairs: For complex repairs involving multiple patches or intricate areas, professional assistance ensures the job is done correctly and safely.
- Peace of Mind: Hiring a licensed roofing contractor provides peace of mind that the repair is performed to industry standards and will last for years to come.
Benefits of Regular Maintenance
Regular maintenance is key to preventing future issues and extending the life of your all metal roofing with:
- Preventative Measures: Regular inspections and maintenance can identify potential problems before they become major issues, saving you time and money in the long run.
- Longevity: Keeping your roof in good condition ensures it remains functional and durable for many years, protecting your investment.
- Cost-Effective: Addressing minor issues promptly prevents them from becoming more significant problems that require expensive repairs or even a full roof replacement.
Summary
Patching screw holes in a metal roof is an essential skill for homeowners looking to maintain their roofing system’s integrity and prevent costly repairs. By following the steps outlined in this guide, you can effectively patch screw holes and ensure a watertight seal. Remember to prioritize safety, use the right tools and materials, and conduct regular maintenance to keep your whole roofing system in excellent condition. If you encounter extensive damage or need professional assistance, do not hesitate to consult with an experienced roofing contractor.
Metal roofs are subject to different expansion and contraction rates due to temperature changes. This section will explain how to accommodate these movements in your repair work. We’ll discuss the importance of allowing some flexibility around the patched area and using materials that can withstand these natural movements without cracking or loosening.